
CapCut Desktop Video Editor
Family moments are precious times that you wish to cherish forever. Making a video of them is a wonderful idea to capture memories and share them with people.
Edit them, and they become even more special. Transitions between the clips make the flow smoother, and it becomes more entertaining and enjoyable to view the video.
CapCut Desktop Video Editor is an excellent editor for family videos. It is simple to use and provides a lot of features to assist you in assembling a professional video. With CapCut PC, you can easily apply transitions and other effects to bring your family memories to life.
Why Use CapCut Desktop Video Editor for Family Event Videos?
CapCut PC is ideal for novices as well as experienced editors. It is easy to edit family videos with smooth transitions in between and a simple user interface.
CapCut PC comes both free and paid, and one needs a subscription for features like additional effects. The feature of writing a voiceover or using the text to speech function, so that your videos can tell a story of your family and add a level of interest, is also provided.
How Transitions Add Up to Family Event Videos
Transitions are the effects that occur between video clips. They make the transition from one clip to another smoother. Without transitions, the video could become jumpy or stilted.
In CapCut Desktop Video Editor, you can select from numerous types of transitions, such as fade, slide, or zoom. The transitions make your video more stylish and fluent.
For instance, you can utilize a fade to transition from the speech of one family member to another, or a slide to display a new event occurring simultaneously.
Transitions assist in narration by merging moments, creating the video to be more cohesive. They can also introduce emotion to the video, such as a soft fade to highlight a momentous occasion.
Using smooth transitions can make the video feel more cinematic, almost like you’re using an AI video generator to create the perfect sequence. This makes your family videos look polished and professional.
Steps to Combine Clips from Family Events and Add Transitions in CapCut Desktop Video Editor
Step 1: Install CapCut Desktop Video Editor
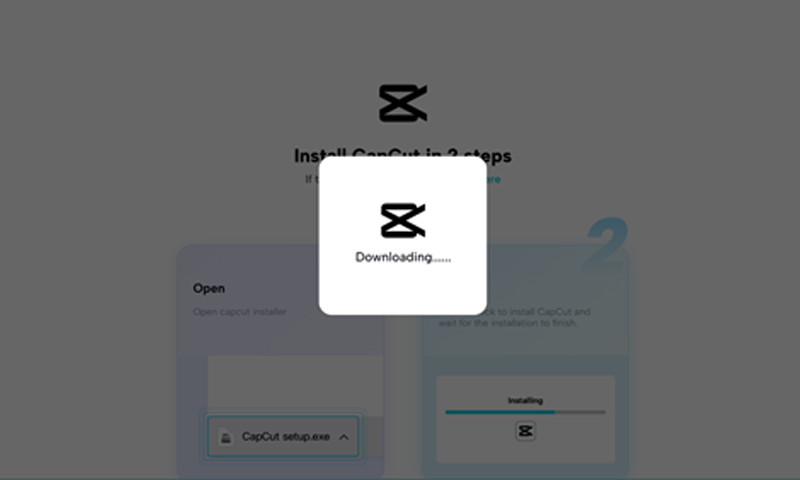 Download CapCut Desktop Video Editor from the official site and install it according to the instructions. Make sure your device has the system requirements for seamless functioning.
Although CapCut Desktop is free, features such as HD exports need a paid subscription. The PC version provides improved performance for editing.
Step 2: Import Your Family Event Clips
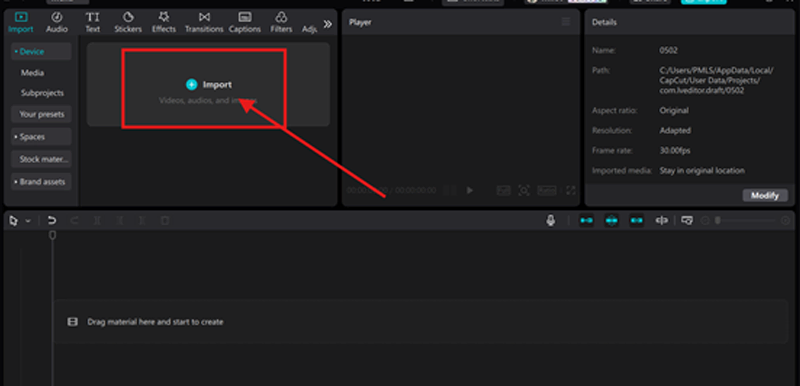 After installing CapCut Desktop Video Editor, open it and begin a new project. To add your family event videos, click on the “Import” button located at the top left corner of the screen.
Choose the video files from your device and insert them into the editor. After importing, move the clips onto the timeline according to how you wish them to be displayed. This will be your rough draft of the video.
Step 3: Add Transitions Between Clips
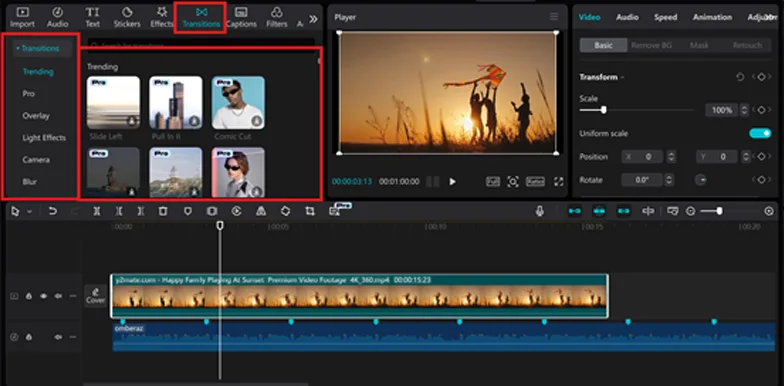 To insert transitions, select the “Transitions” option from the top menu. Select different effects such as fade, slide, or zoom.
Place a transition between clips on the timeline by dragging and dropping it. Edit the duration by adjusting the edges and preview the effect before committing to it by pressing the play button.
Step 4: Fine-Tune and Edit Your Video
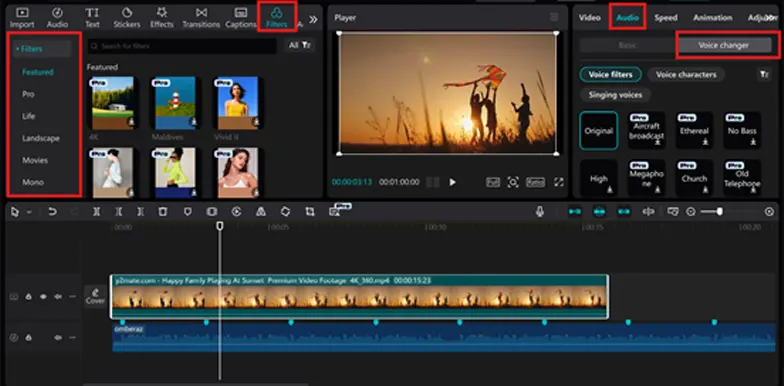 After you’ve established your transitions, you can proceed with tweaking the video. Double-click each clip to edit out excess and sync up timing. You can also tweak audio levels to get rid of distortion.
To add to the visual appeal of the video, investigate filters, text overlays, and sound effects. Some of these, like voice changer, might be included only in paid versions.
In order to make your family video even more lively, you can use the text-to-speech option to incorporate narration or commentary in your video.
Step 5: Export Your Final Video

Once edited, click the “Export” button. Select your desired resolution and file type. CapCut Desktop provides exporting to social media or personal storage.
Exporting is free, but high-resolution videos or longer exports can be accessed only by upgrading to a premium plan for advanced features and improved quality.
CapCut Desktop Video Editor: Free vs Paid Features
CapCut Desktop Video Editor has both free and paid features. Basic editing features, transitions, and exporting videos are free.
Yet, high-definition exports, more filters, and more advanced effects might need a paid subscription. Paying for the upgrade will provide you with these additional features, which can improve your video quality.
It is reasonably priced, and the advantages of smoother, better-quality videos make it an excellent choice for more professional editing.
Conclusion
Merging clips together with transitions creates more effective and engaging family event videos. One of the ideal tools for such is CapCut PC, which not only has a free version but also a paid one that works according to your requirements.
Even though the free version is impressive, upgrading adds more features in terms of further advanced options towards a refined final product.
Both beginners and veterans can easily make use of it. When your video is complete, sharing it with family and friends via social media is easy and quick.